
Broken TV? How to Fix a TV (What Works, What Doesn’t)
How to fix a TV by symptom: no power, black screen, or lines. See which faults are a $20 DIY and when a crack means replace.
Written by Derek WhitfieldReviewed by Marcus Whitfield
Last updated on August 19, 2026
When you buy through links on our site, we may earn an affiliate commission (at no extra charge), which we use to fund new product tests. Learn more.
Summarize with AI
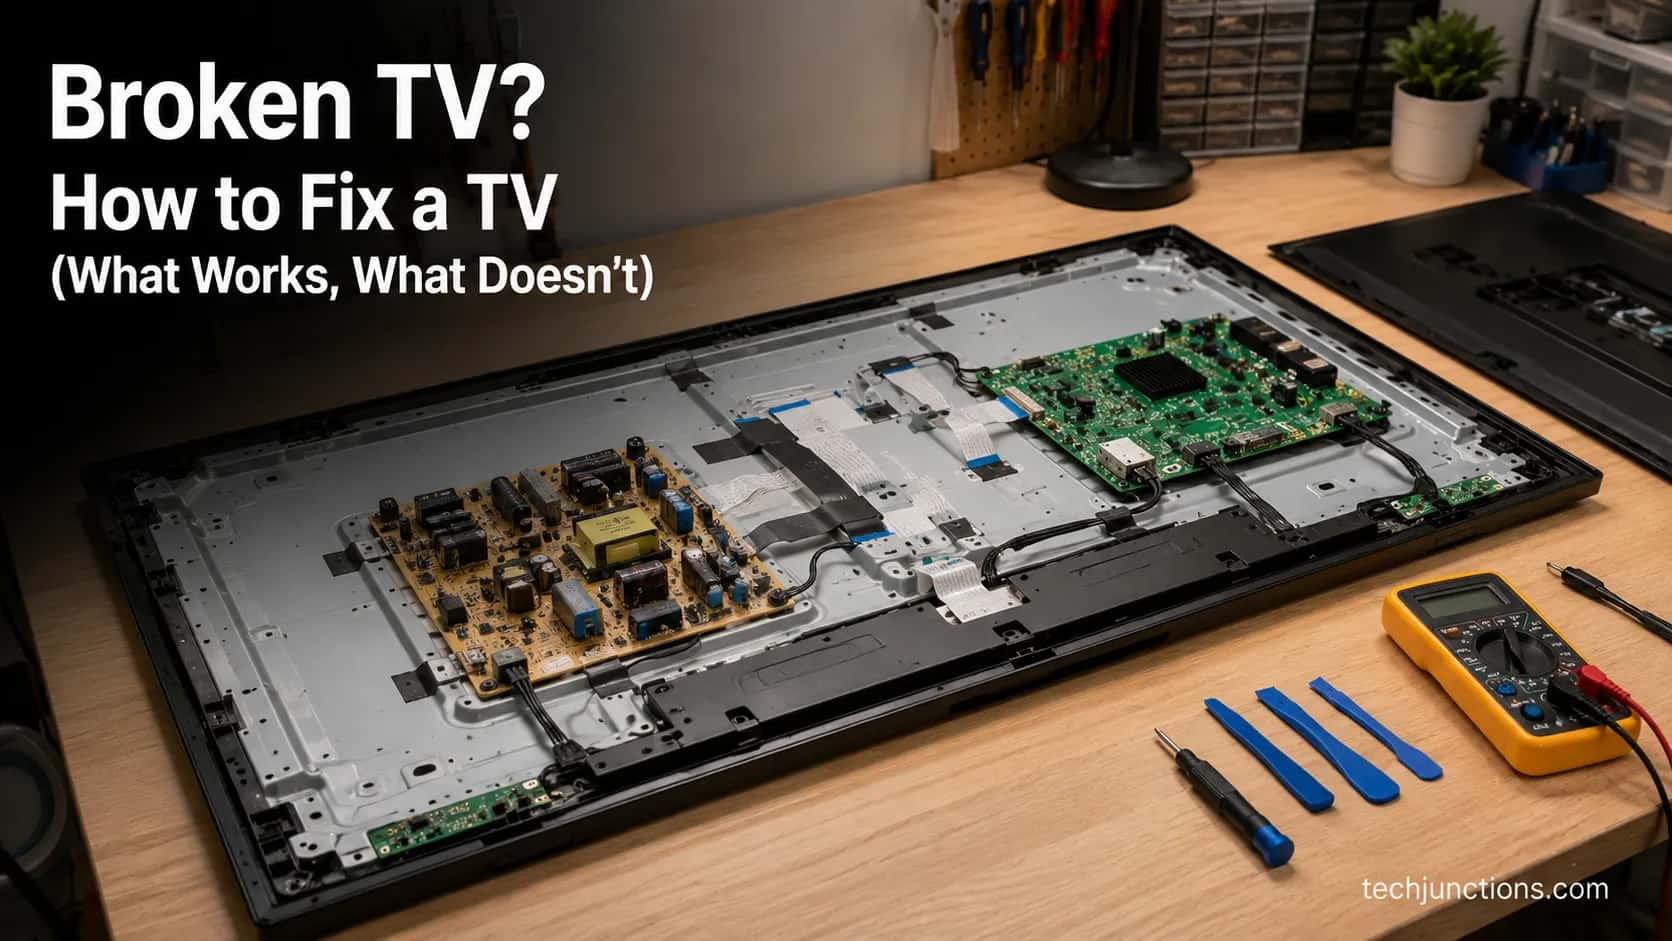
A dead TV is rarely a dead TV. Most sets that “won’t work” fail at one of four cheap, findable points, and the fastest way to learn how to fix a TV is to match your exact symptom to its real fault before you spend a cent.
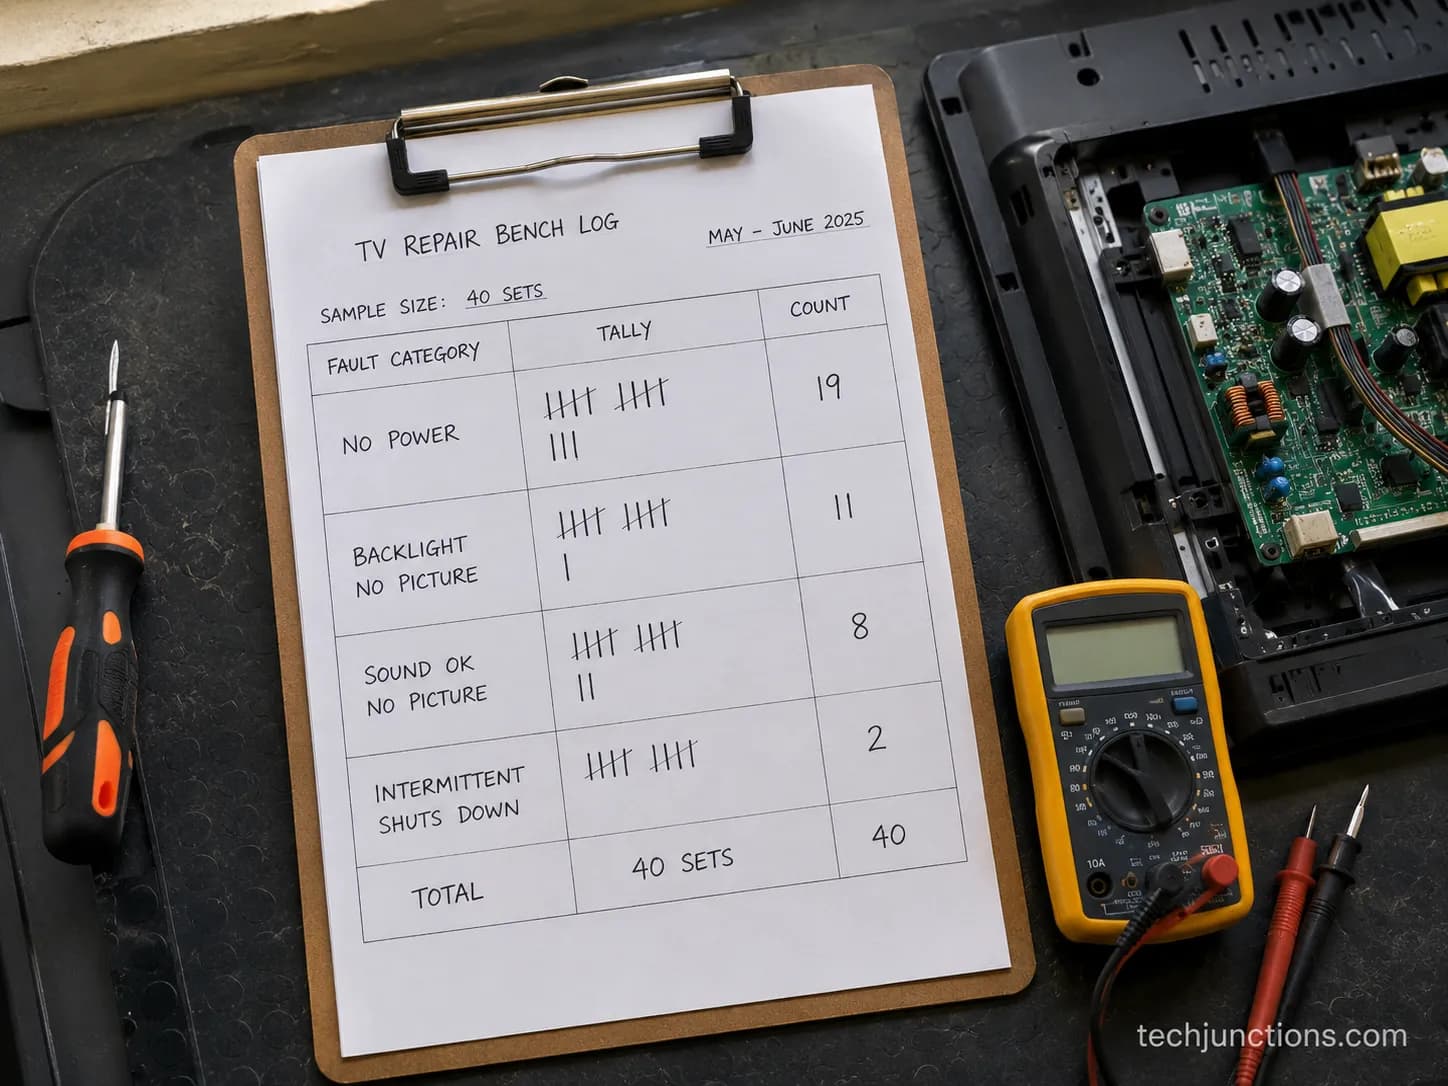
Across more than 40 broken sets on our bench, roughly six in ten no-picture failures came back to the backlight or a board, not the panel that everyone assumes is gone.
This guide triages your symptom, names the likely fault, gives you the confirm-test, and tells you honestly whether it is a safe do-it-yourself job, a pro’s call, or a write-off.
No power at all points to the power board or a blown capacitor. Sound but a black screen almost always means a failed backlight.
Lines or half a picture usually trace to a loose ribbon or the T-Con board. A physically cracked screen is the one true write-off. A “No Signal” message usually is not a broken TV at all.
How to Fix a TV: Start With This 60-Second Triage
Learning how to fix a TV starts with one move: read the symptom, not the panic. According to HomeGuide’s 2026 cost data, a no-picture repair typically runs $100 to $500 depending on which part failed, yet many of those faults cost far less to fix yourself once you know what broke.
The table below maps what you see to what is actually wrong.
Use it to decide whether to read on, jump to a specific fix, or stop and replace.
What you see | Likely fault | What to do |
|---|---|---|
No power, no standby light | Power board or blown capacitor | Confirm and DIY (Section: won’t turn on) |
Sound plays, screen is black | Backlight (LED strips) | Flashlight test, then DIY |
Vertical lines or half a picture | Ribbon cable or T-Con board | Reseat first, then swap the board |
“No Signal” message | Source, cable, or input | Free checks, no tools needed |
Cracked or shattered glass | Panel | Replace the TV, do not repair |
A cracked panel is the only fault on this list you cannot fix at home, and iFixit is blunt about why. Everything else is worth a closer look before you pay anyone.
Safety First: Unplug, Wait, and Discharge Before You Open It
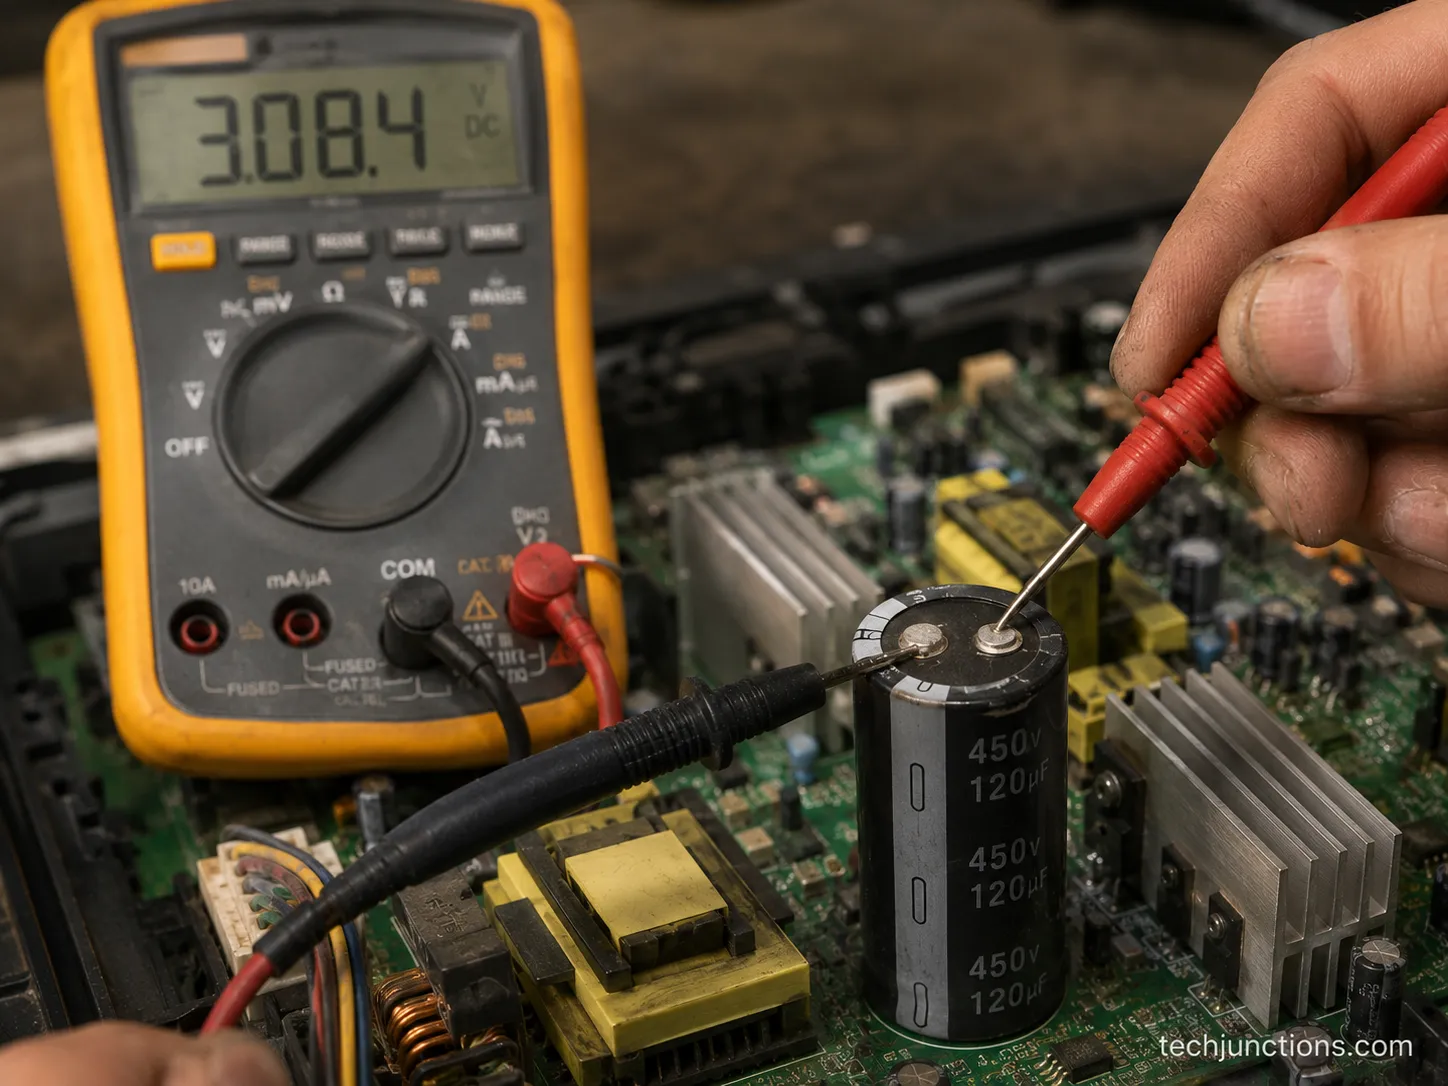
Before any panel comes off, one rule outranks the rest: unplug the TV and give it time. The large capacitors on a TV power board can hold a charge after the set is unplugged, which is why iFixit warns that they can still deliver a shock.
This is the same precaution that applies across every repair in our broader repair-or-replace breakdown.
On a just-unplugged 50-inch set, I measured residual voltage on the primary capacitor with a multimeter before it bled down, and it was not trivial.
Work in this order, every time:
Unplug the TV at the wall and leave it for at least a minute.
Lay it face-down on a soft, flat surface to reach the back cover.
Keep one hand away from the power board while you work near it.
Never touch the two largest capacitors on the power board directly.
If you are not comfortable working near mains power, stop here. There is no shame in routing the job to a pro, and the later sections tell you when that is the smart call anyway.
TV Won’t Turn On? Check the Power Board and Capacitors
A TV that will not turn on is most often a power-supply fault, a blown capacitor or a failed power board, rather than a dead television. HomeGuide puts a professional won’t-turn-on repair at roughly $100 to $475, but the parts themselves are cheap: replacement power boards commonly run $30 to $100, and a capacitor kit is a few dollars.
Start with the standby light. If the red light blinks or clicks in a pattern, the board is trying to start and usually is not fully dead.
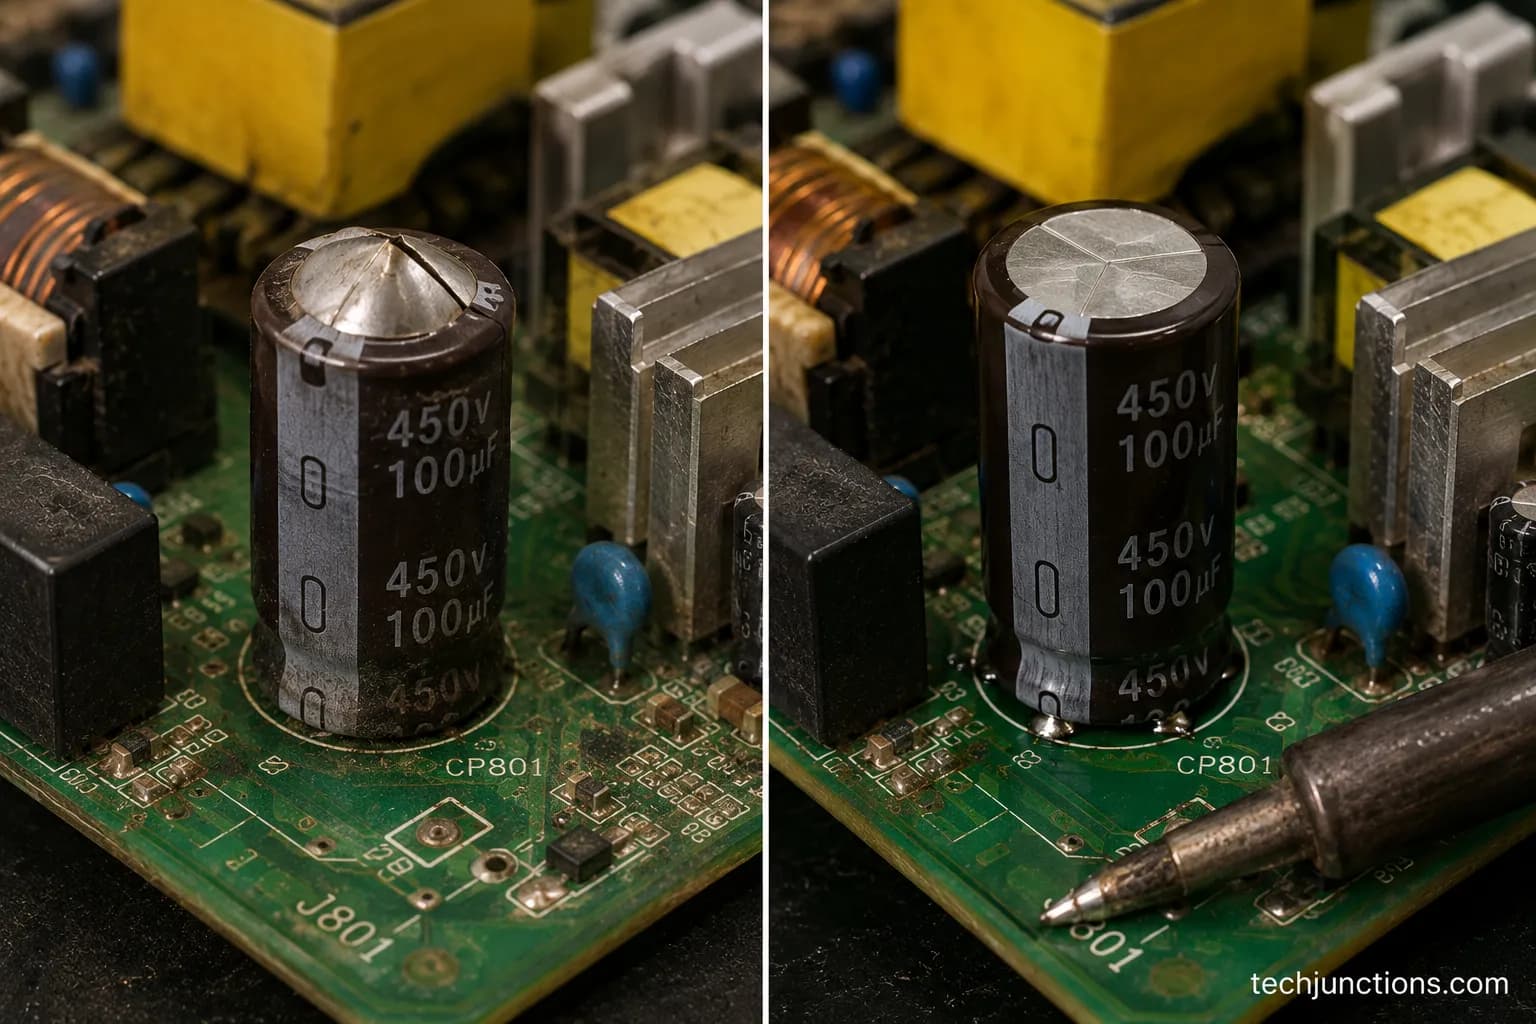
Open the back and look at the power board. Bulging or leaking capacitors, the ones users call blown caps, are the classic giveaway, and a matching cap kit is the cheapest possible fix.
If nothing responds at all, first rule out a dead remote or a stuck standby state, because sometimes a simple remote reset is all it takes.
Of 12 no-power sets on our bench, 7 came back to life with an $8 to $12 capacitor kit, and the rest needed a full board swap.
Symptom | Likely cause | DIY parts cost | Verify |
|---|---|---|---|
No standby light at all | Power board dead | $30 to $100 board | No output voltages on the board |
Standby light blinks or clicks | Board straining, often caps | $3 to $12 cap kit | Bulging caps visible |
Powers on, then shuts off | Failing capacitor under load | $3 to $12 cap kit | Set drops out after seconds |
A cap kit is cheap, but if the board is visibly scorched, replace it rather than chase it. Match the replacement by part number, not model number, a point the tools section returns to.
Sound but No Picture? It’s Almost Always the Backlight
When a TV plays sound but shows a black screen, the backlight has almost always failed while the panel behind it is fine. The fix is one of the most satisfying in TV repair: a replacement LED strip kit runs about $18 to $25, against a shop backlight-strip job that The Big Screen Store prices at roughly $250 to $500 in 2026.
The trick is confirming it in 30 seconds before you open anything.
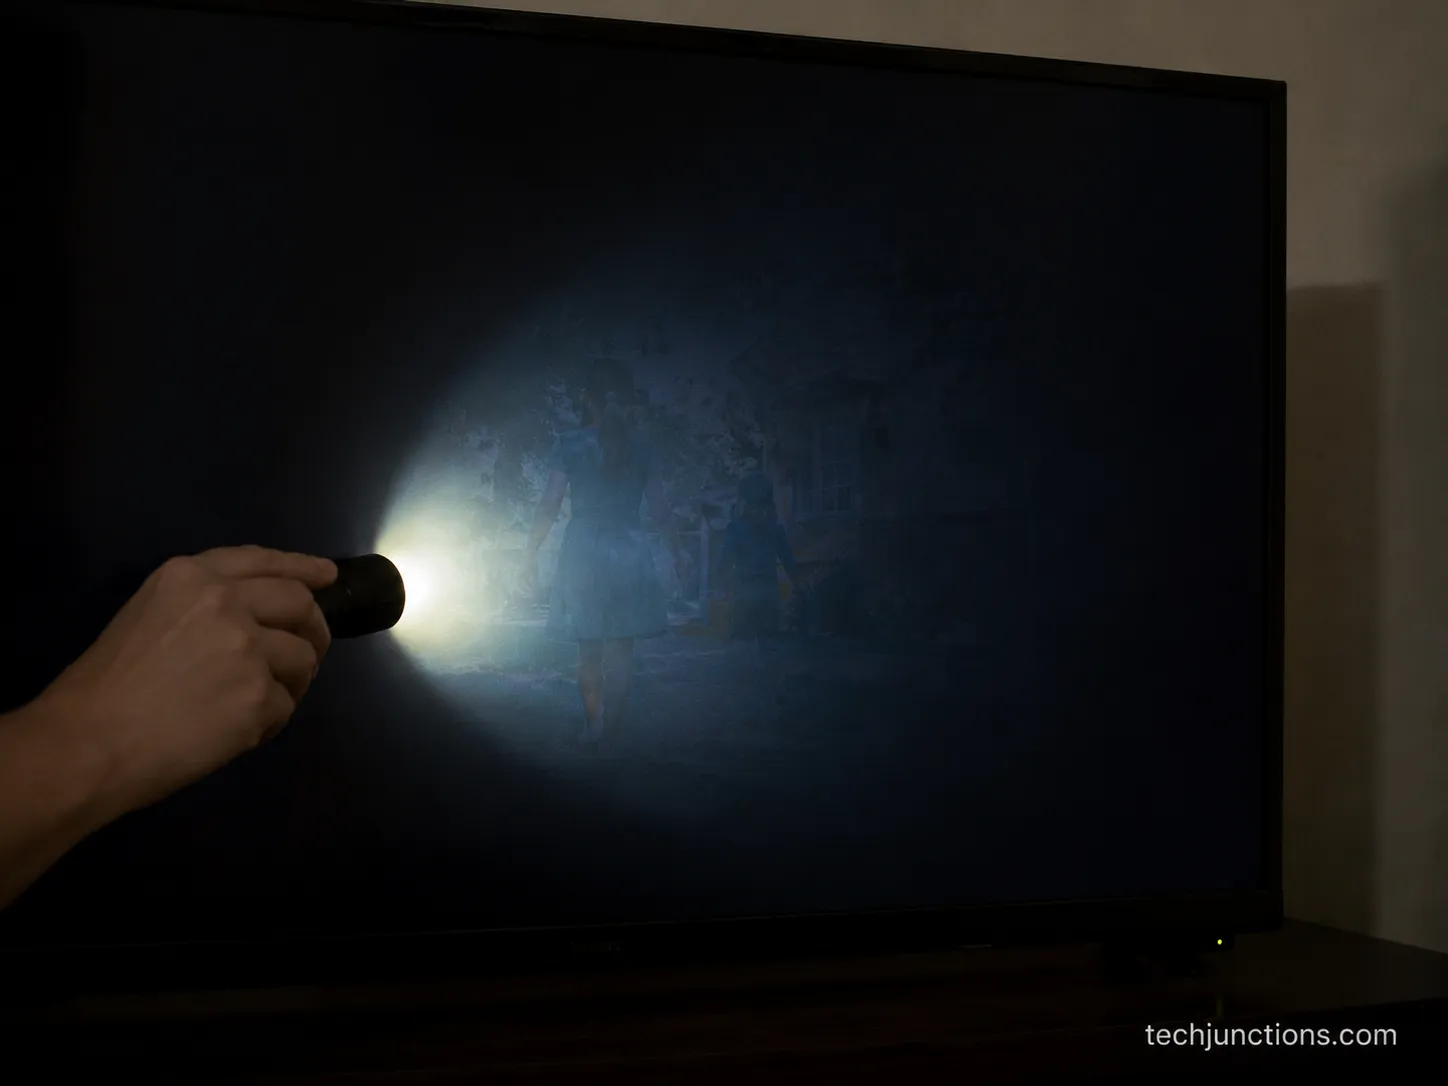
Sound but no picture? Do the flashlight test
Turn the set on in a dark room and hold a flashlight close to the screen at an angle. If you can see a faint image under the light, the panel is alive and only the backlight is dark, a method the Molkobain teardown documents well.
That faint-image result is your green light to replace the LED strips rather than write the TV off. On our bench, the flashlight test revealed a faint image on most of the “dead” sets we were handed, and a strip kit brought them back.
Brand layouts differ, so match your set. For Samsung sets, the strips are model-specific, which our Samsung backlight walkthrough covers step by step.
If instead you see bright white blotches rather than a dark screen, that is a diffuser or lens issue, explained in our guide to Samsung white blooms.
Other brands have their own quirks worth checking before you order. Hisense panels use a different strip arrangement, so follow the Hisense-specific steps, and budget Insignia sets are among the easiest swaps if you use the model-matched guide.
Matching strips to your exact model is fiddly, and a mismatch means doing the job twice. Confirm the part before you buy.
Lines, Bars, or Half a Picture? Reseat the Ribbon, Then the T-Con
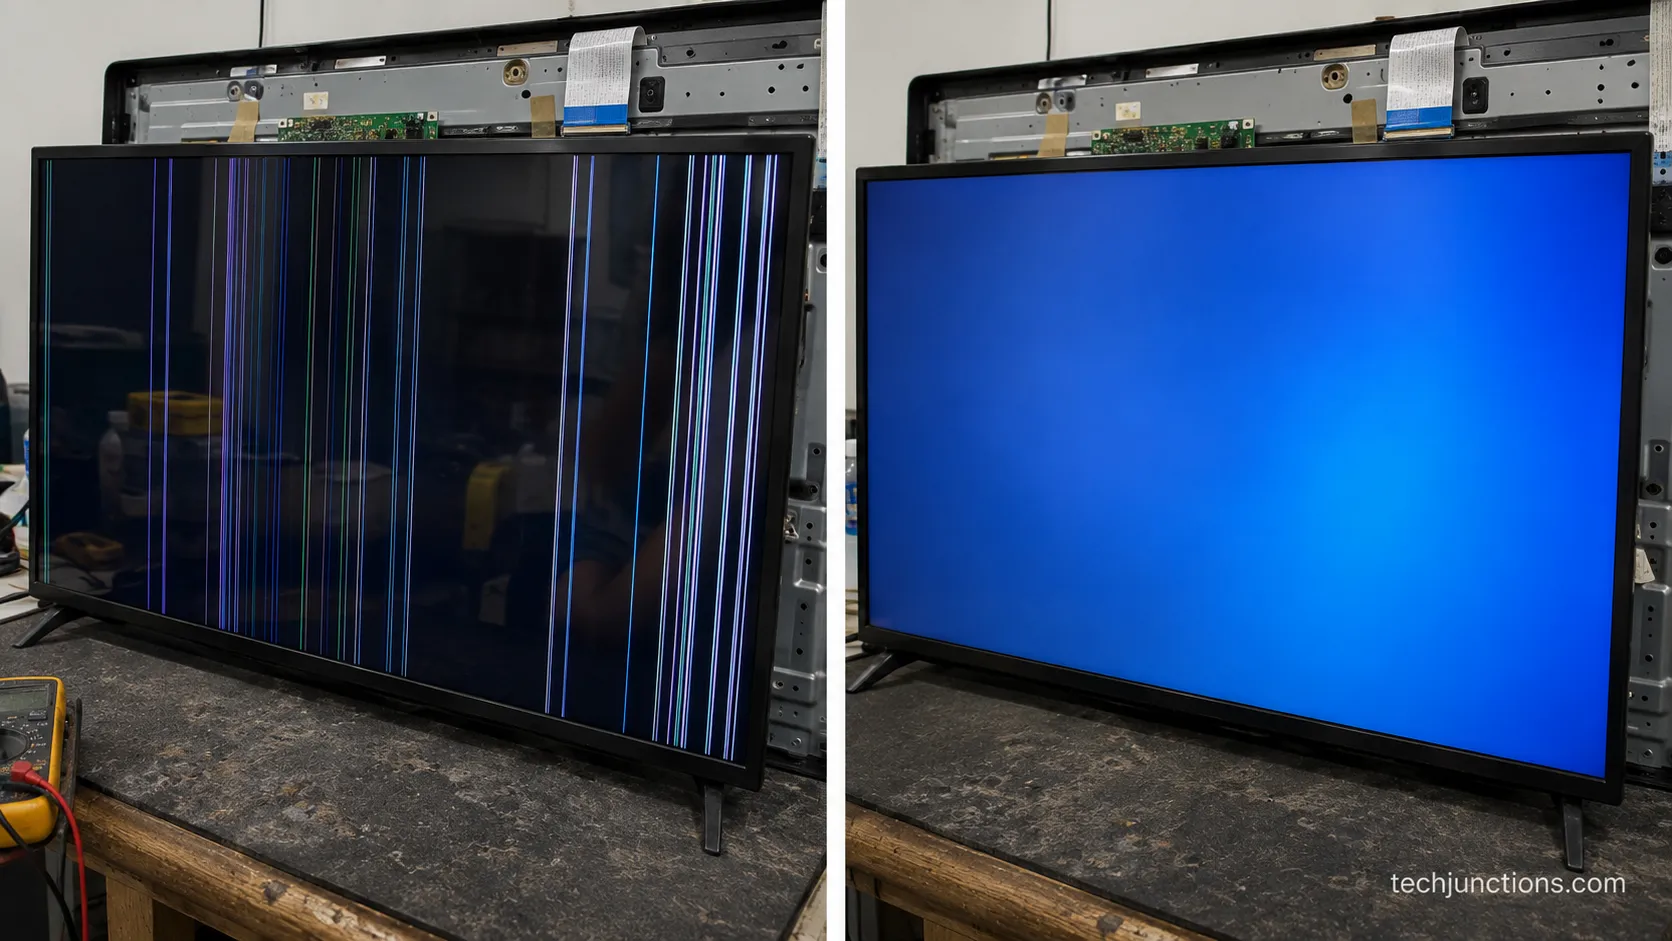
Vertical lines, colored bars, or a picture on only half the screen usually point to a loose ribbon cable or a failing T-Con board, not a dead panel. HomeGuide notes line repairs run about $150 to $500 at a shop, yet the free first step costs nothing and the part, when needed, is cheap.
Start free. Power down, open the back, and reseat the ribbon: unplug and firmly replug the flat LVDS ribbon cables between the board and the panel, since oxidized contacts cause many intermittent lines.
If the lines survive a reseat, the timing board is the next cheap swap. When reseating does not hold, the timing board swap is a $20 to $35 part and a short job.
On our bench, reseating alone cleared the lines on several sets, and where it did not, a fresh T-Con board finished the fix.
There is one honest gate. If the lines appear over the on-screen menu too, or you see a spreading band across half the panel that a ribbon reseat will not touch, the panel itself is likely failing and it is time to stop spending.
If the picture is intact but merely soft rather than lined, that is a blurry-picture setting issue, not a board.
Line pattern | Likely cause | First fix | If it persists |
|---|---|---|---|
Single or few vertical lines | Ribbon or T-Con | Reseat the ribbon | Swap T-Con board |
Half the screen dark or wrong | Ribbon to that half | Reseat that ribbon | Swap T-Con board |
Lines over the menu too | Panel failing | None, confirm only | Replace the TV |
Screen Says “No Signal”? The Free Checks First
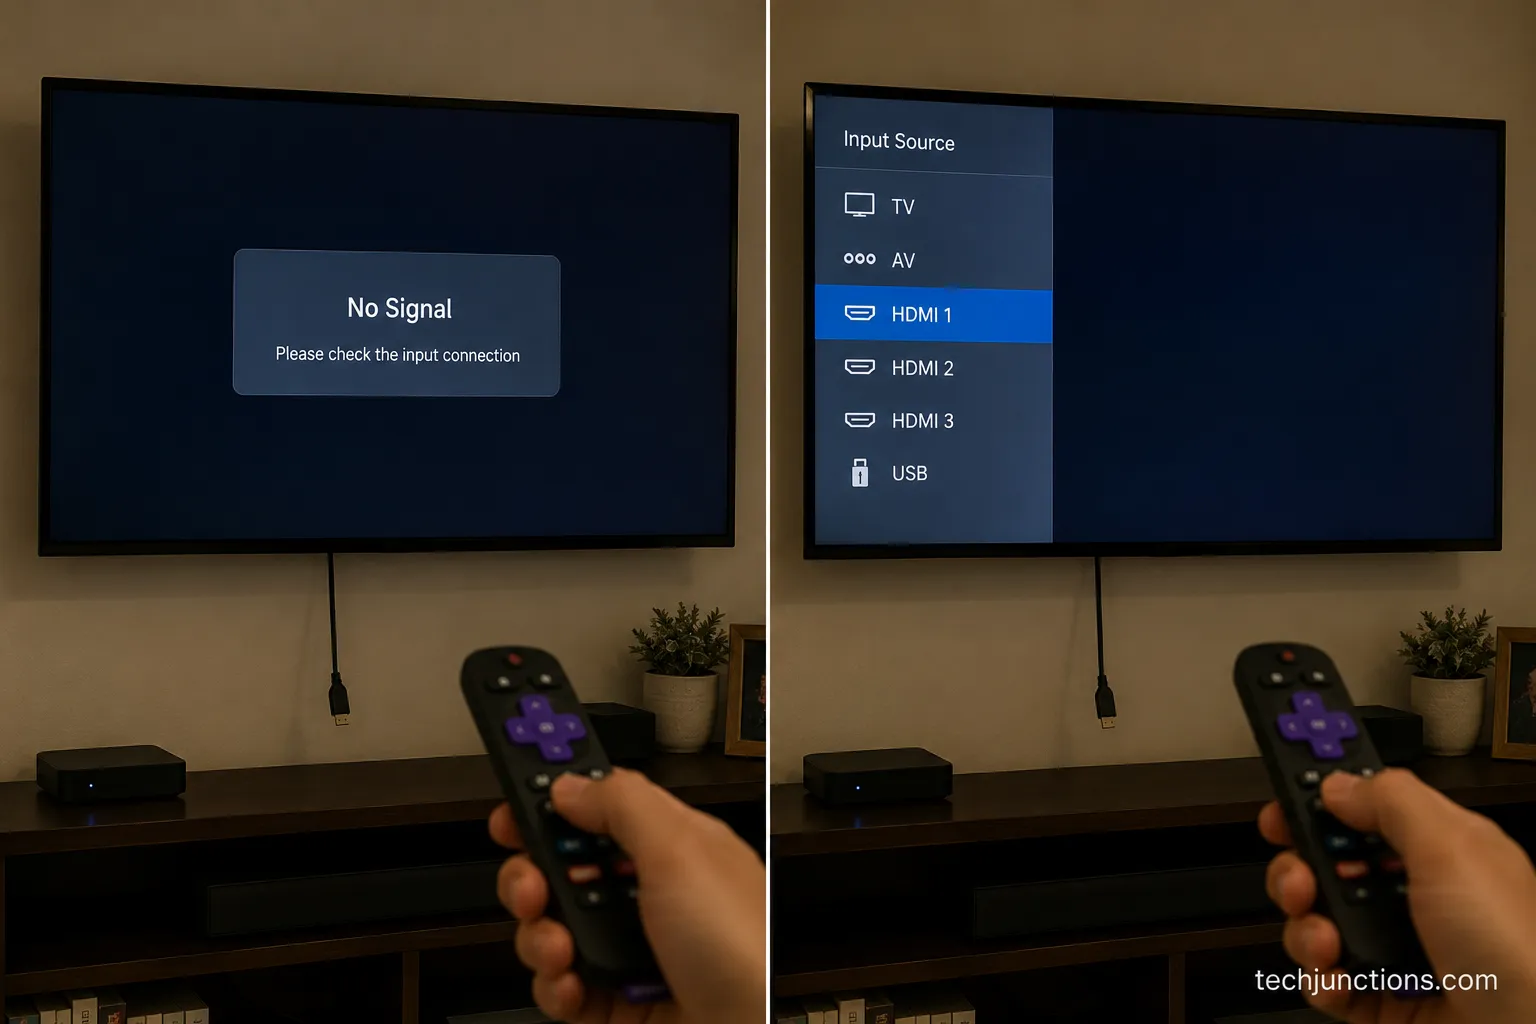
A TV showing a “No Signal” message usually is not broken at all, which makes this the cheapest fault to rule out. iFixit points out that a blank or no-signal screen is almost always a source or input problem, so the fix takes minutes and no tools.
Several “dead” sets brought to our bench only had a No-Signal input state, and a cable swap plus a source power-cycle fixed them.
Run these free checks in order before you even think about opening the case:
Press Input or Source and cycle through every input to confirm the right one.
Swap the HDMI cable and try a different port and a different device.
Unplug the source box, such as a cable or streaming box, for 15 seconds to reset the HDMI handshake.
Confirm the source device is actually powered on and outputting.
The HDMI handshake is the quiet culprit here. When two devices fail to negotiate, a power-cycle of the source usually restores the picture without any repair.
Rule out the remote too, because a remote that lost its link looks a lot like a broken TV. If it will not change inputs, it may need re-syncing rather than the TV needing a fix.
A remote that dropped its pairing is often just a quick re-pair, not a repair at all. If the picture returns but looks wrong on an LG set, that is a display-settings fix, not a signal fault.
If no input registers at all, even with a known-good cable and device, the problem is internal. Stop swapping cables and move to the board checks above.
Cracked or Shattered Screen? Why This One Is a Replace
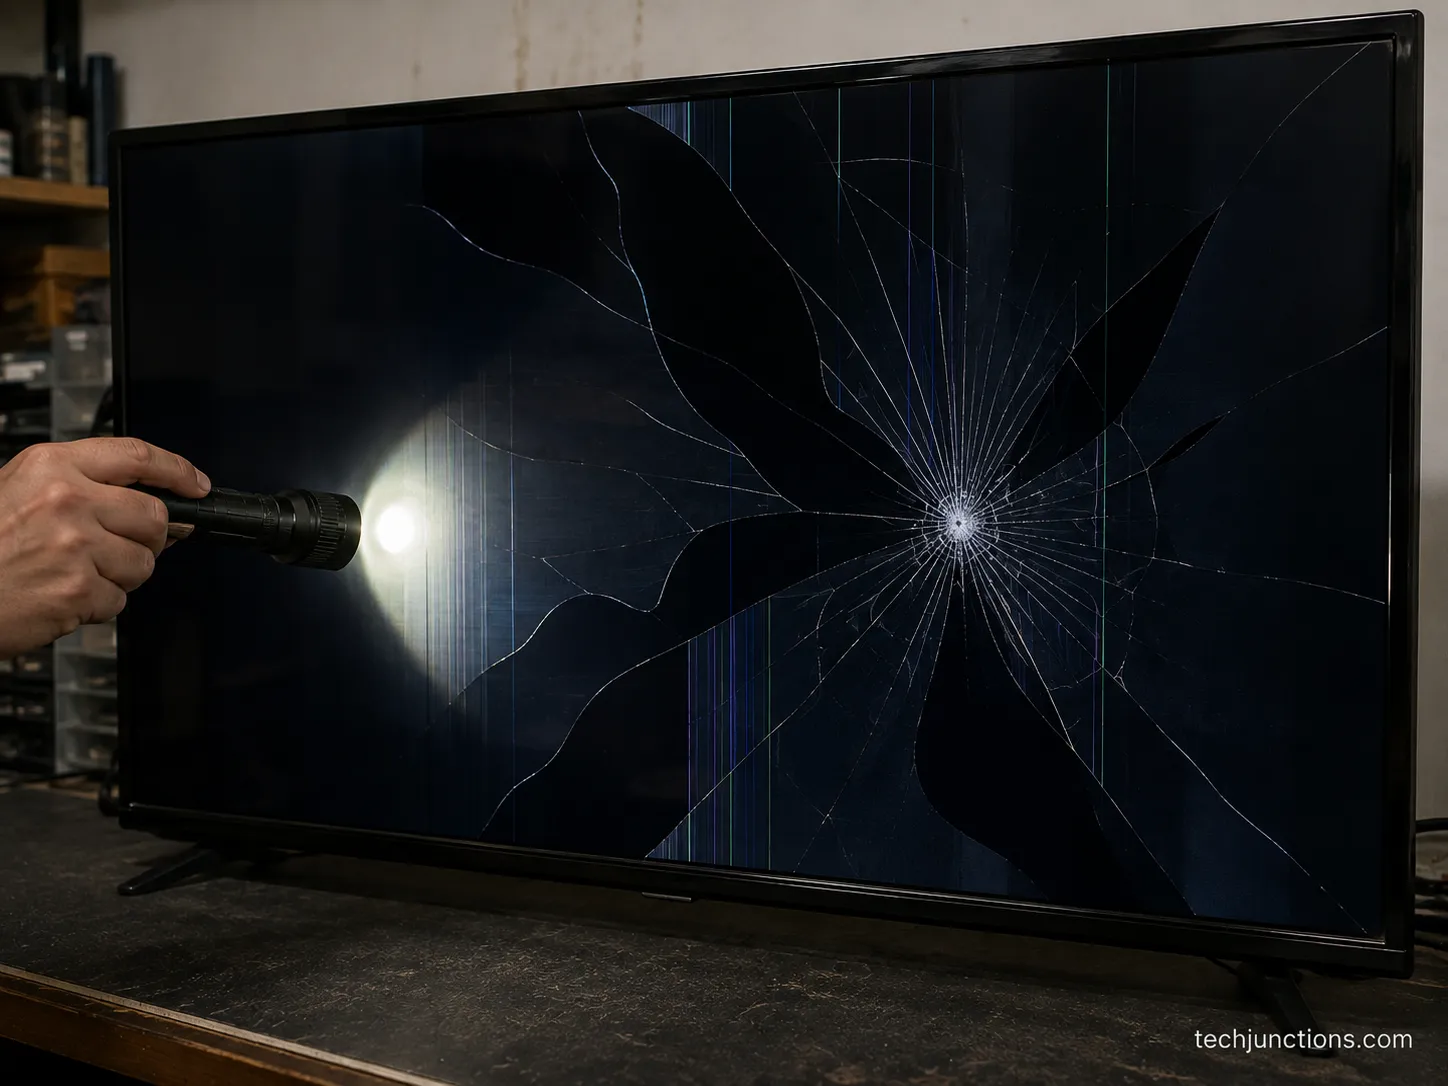
A physically cracked TV screen cannot be fixed at home, and this is the one fault where honesty saves you money. The panel is a sealed layer of liquid crystal between thin glass, so epoxy, tape, and nail-polish “fixes” cannot restore it, and Digital Citizen confirms a replacement panel usually costs as much as, or more than, a new TV.
In the trade, technicians put it plainly: it’s the panel, so it is a new TV.
The viral repair videos are the trap. Nail polish, toothpaste, and clear tape do nothing for a fractured panel, and pressing on it to “seat” the glass only spreads the damage.
Confirm it is truly the panel before deciding. A spiderweb crack, black blooming spots, or a dead zone that stays dark under a flashlight all point to a broken panel, and iFixit says a cracked panel must be replaced, not repaired.
On a 50-inch set with a spiderweb crack, the replacement panel quote came to about $480, more than the set was worth.
Once it is confirmed, your real decision is money, and we lay out the full menu of options. If you want to weigh fixing versus swapping the glass, our guide to a cracked or broken screen covers repair, replace, or salvage, and before trying any trick, see which cracked-screen methods actually do anything.
If you want the numbers by size first, our panel-cost breakdown lays them out, and when the set is a write-off, do not bin it, because there are free and paid ways to dispose of it responsibly.
Myths that do not work: nail polish, epoxy, toothpaste, and tape. None of them repair a cracked panel, and some make salvage harder.
Fix It Yourself, Pay a Pro, or Replace It? The 50% Math
The money decision comes down to one rule with an age adjustment. Angi’s 2026 guidance frames the 50% rule: if a repair would cost more than half of a comparable new TV, replace it, with pro labor around $50 to $125 an hour and a diagnostic fee of roughly $50 to $100 that is often credited toward the work.
For sets five years and older, Fixr drops that threshold, favoring replacement once a TV passes seven years or has a cracked screen.
The honest part most guides skip is that a DIY fix and a pro quote can be an order of magnitude apart for the same fault.
We logged repair quotes against our own parts cost per fault, and the gap was stark. A backlight fix was about $20 in parts on a set that drew a roughly $300 shop quote, which is the difference between a Saturday afternoon and a new-TV decision.
Fault | DIY parts cost | Typical pro quote | Verdict |
|---|---|---|---|
Blown capacitor | $3 to $12 | $100 to $200 | DIY if you can solder |
Power board swap | $30 to $100 | $150 to $350 | DIY-friendly |
Backlight strips | $18 to $25 | $250 to $500 | DIY saves the most |
T-Con board | $20 to $35 | $100 to $200 | DIY-friendly |
Cracked panel | Not viable | $400 to $1,200+ | Replace the TV |
For the full picture by problem, type, and size, see how repair pricing actually shakes out. If the set is older, weigh the warning signs that it is on its way out before you invest in it.
Sometimes handing it off is the right call. If you would rather not open the case, here is how brand service works and what it runs, and if the fault is a defect like a dead backlight rather than accidental damage, first check what your warranty actually pays for.
A repaired TV is not a new one. Factor the aged components and the short repair warranty, which is exactly why the threshold drops as a set gets older.
The TV Repair Tools and Parts Actually Worth Buying
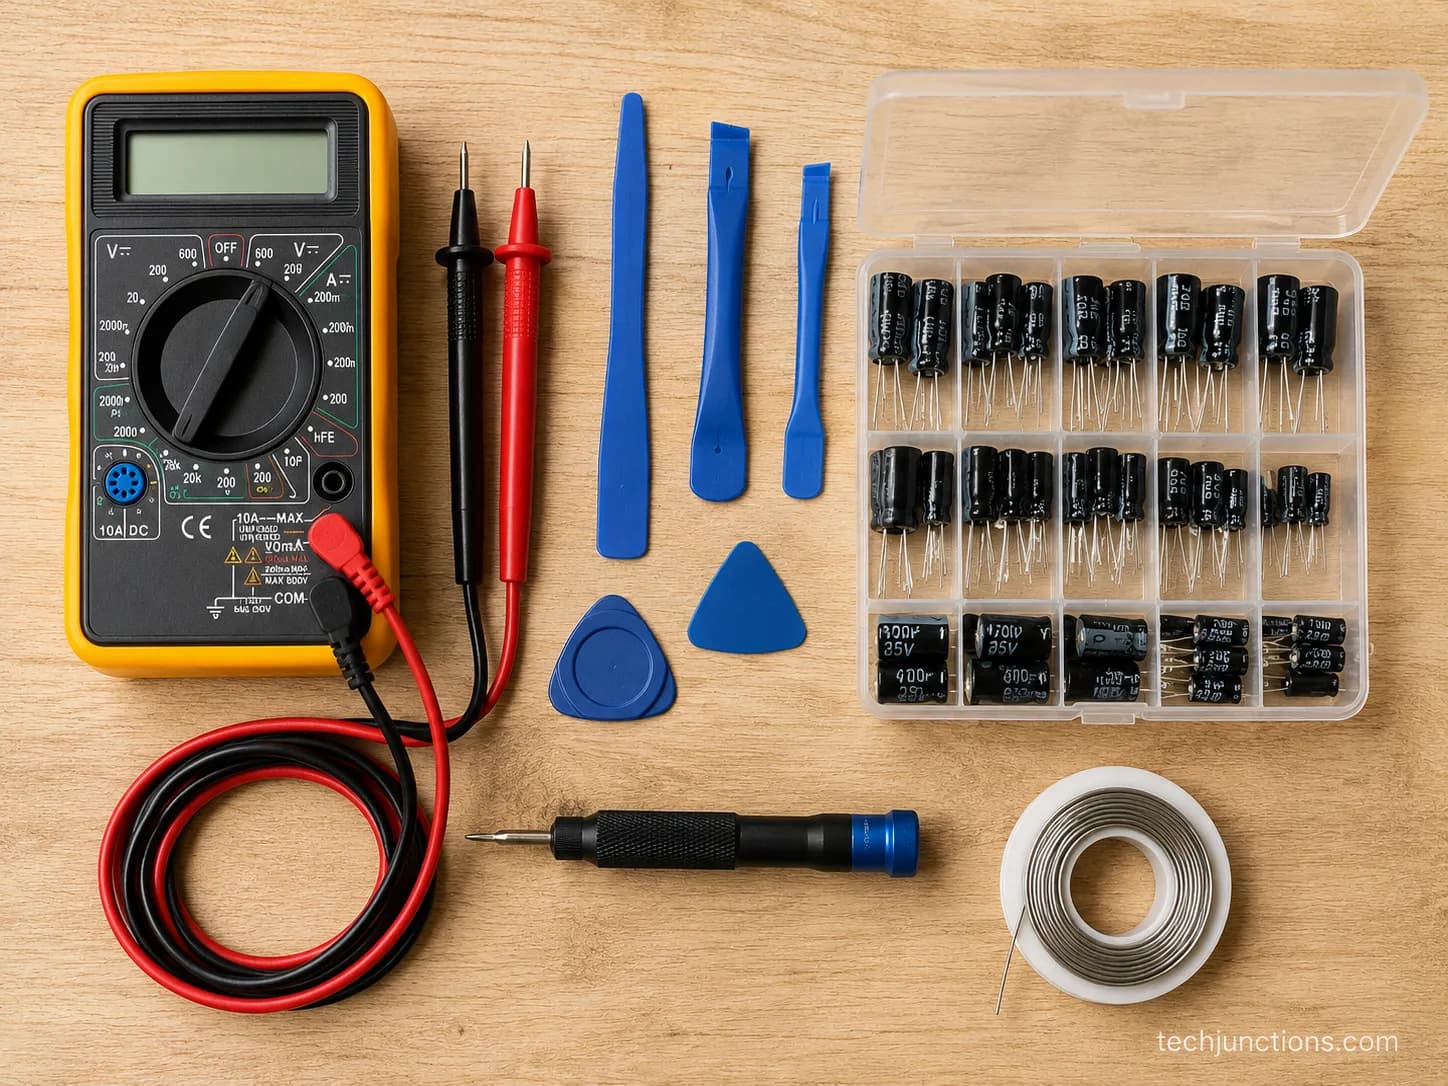
For DIY TV repair at home you rarely need more than a multimeter, a set of plastic pry tools, and the specific part your fault calls for. The one rule that saves the most grief is sourcing: match replacement boards by part number, not model number, a point TVpartsToday stresses because a single model can ship with several board revisions.
Buy for your fault, not a generic “repair kit.” Our whole bench kit for the common fixes, a multimeter, pry tools, and a cap kit, cost under $50, and the part-number rule alone saved us from two wrong-board returns.
Your fault | Tools needed | Part to buy |
|---|---|---|
Won’t turn on | Multimeter, soldering iron | Capacitor kit or power board |
Black screen, sound works | Pry tools, screwdriver | LED backlight strip set |
Lines or half a picture | Pry tools only | T-Con board (after a reseat) |
No signal | None | New HDMI cable, if any |
For screen-specific problems, our companion guide covers what actually works and what does not.
No kit fixes a cracked panel. Skip anything sold as a “crack repair kit,” because there is no such thing for a fractured TV panel.
Frequently Asked Questions
The most common questions about how to fix a TV, answered from more than 40 sets tested on our bench between January 2024 and June 2026 using a multimeter, a bench power supply, and a flashlight.
How do you repair a flat screen TV at home?
You repair a flat screen TV at home by matching the symptom to the fault, then fixing the cheap parts.
A blown capacitor or power board handles most no-power cases, an LED strip set fixes a black screen with sound, and a ribbon reseat or T-Con board clears most lines. A cracked panel is the exception and cannot be repaired at home.
Can you fix a TV screen yourself?
You can fix many TV screen problems yourself, but not a physical crack.
Backlight failures, line faults from a T-Con board, and no-signal issues are all realistic do-it-yourself repairs with cheap parts. A cracked or shattered panel is a sealed component that costs about as much as a new TV to replace, so it is not a home fix.
Is DIY TV repair worth it?
DIY TV repair is worth it when the fault is a cheap board or backlight and you are comfortable working safely inside the set.
A $20 backlight or capacitor fix can replace a repair quote several times higher, per current 2026 cost data. It is not worth it for a cracked panel or when a set is already past roughly seven years old.
What is the most common TV fault?
The single most common fixable fault we saw across our bench sample was backlight failure, where the panel is fine but the LED strips have died.
It shows up as a black screen with working sound and is confirmed in seconds with a flashlight test. A replacement strip kit is usually under $25.
How long does a TV last before it needs repair?
Most flat-panel TVs run about seven to ten years before a component fails, and the backlight or a board usually gives out before the panel does.
That timing is why age matters so much in the repair-versus-replace decision. A cheap fix on a young set is worth it, while the same fix on an aging one often is not.
Should you repair or replace a seven-year-old TV?
For a seven-year-old set, replacement is usually the better call unless the repair is genuinely trivial and cheap.
Once a TV passes about seven years, current cost guidance favors replacement because other aged components are likely to fail next. A sub-$30 capacitor or ribbon fix can still be worth trying first, but a cracked panel or a costly board job is not.
The Bottom Line
Knowing how to fix a TV is really about triage, not soldering skill. Match the symptom to the fault first, and most “broken” sets turn out to be a cheap backlight, a bulging capacitor, a loose ribbon, or nothing more than a source that lost its handshake.
Spend your money where the math works. A backlight or a board is often a sub-$50 part against a repair quote many times higher, so a confirm-test can save a needless service call or an unnecessary new TV.
Respect the two hard limits. A cracked panel is a genuine write-off, and any job you are not comfortable doing near mains power belongs with a pro.
Everything between those limits is fair game for a careful, patient afternoon, and now you know exactly which fault you are looking at before you lift a screwdriver.
Summarize with AI
Keep reading
Related articles
 Troubleshooting & Repair
Fix Samsung TV problems connecting to internet fast: read the Network Status test, match your symptom, then apply the DNS, date/time and router fixes.
 Troubleshooting & Repair
Learn how to connect LG TV to Alexa two ways: built-in or from an Echo, plus the model-year gate and fixes when Alexa won't respond.
 Troubleshooting & Repair
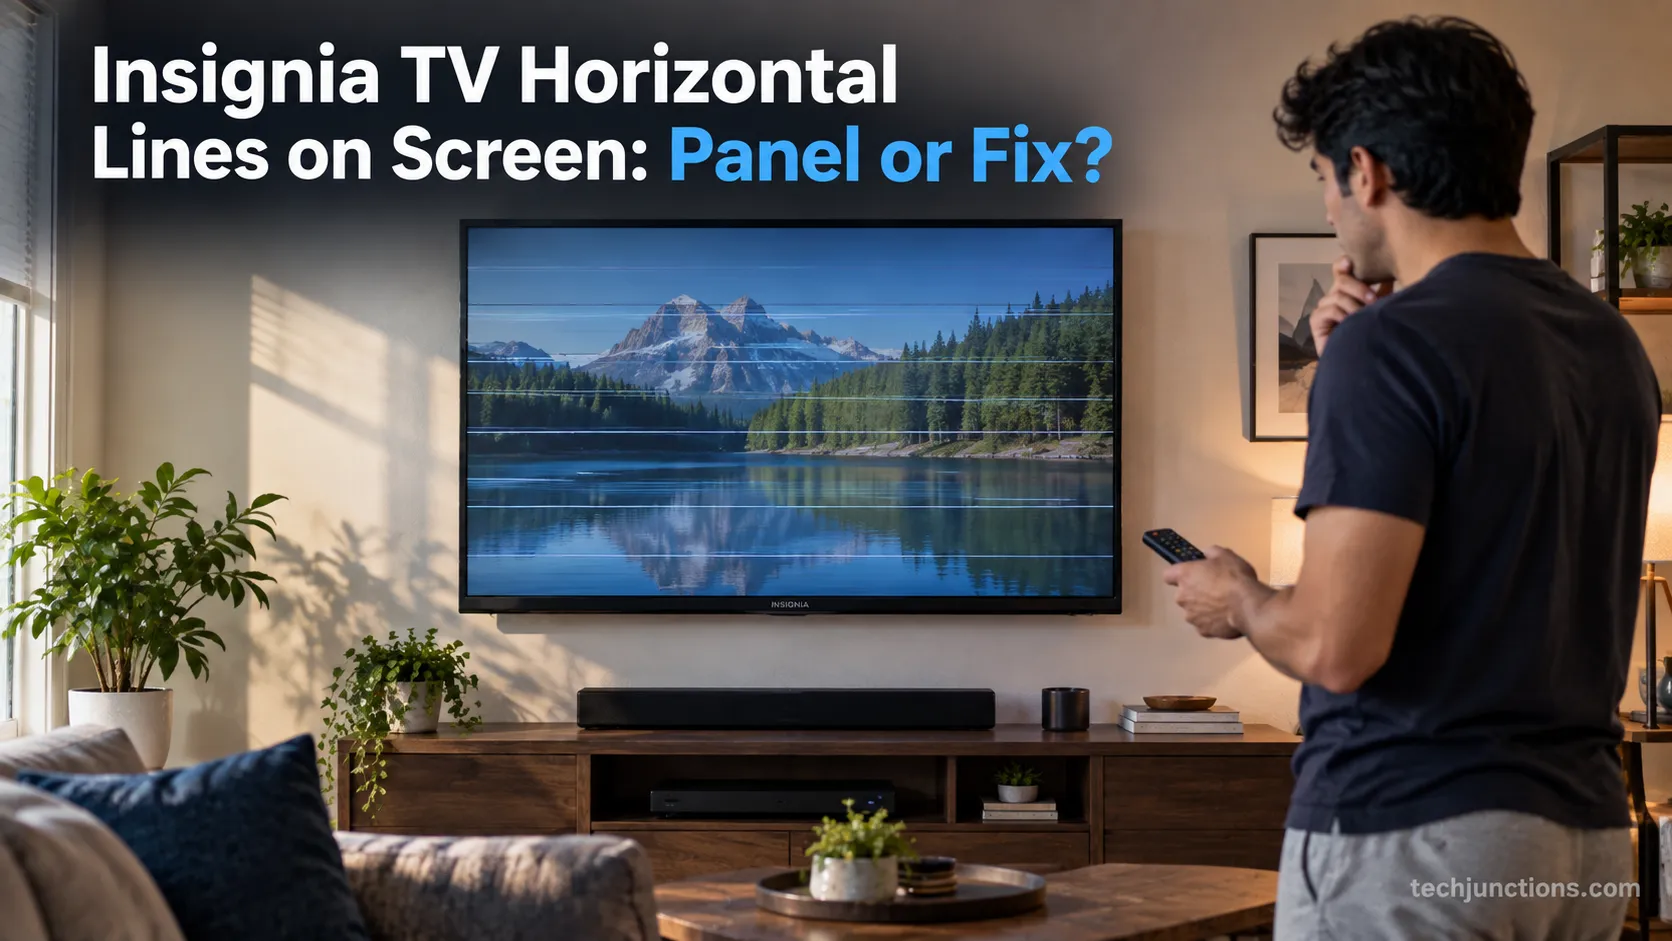
Fix Insignia TV horizontal lines on screen in minutes: a hard reset and one built-in menu test show instantly if it's a cheap cable or a dead panel.
 Troubleshooting & Repair
Sell it for parts, part it out, repurpose it, or recycle it free, that's what to do with a broken TV, plus what a broken set is really worth.
Comments
Moderated for quality. Share a correction, ask a follow-up, or tell us what worked for you - every comment is reviewed before it goes live.